Outdoor Kitchen Design Guide for Providence, RI
Design searches are one of the biggest research families in this trade, and what those searchers get in Providence today is a directory. This guide is the step by step design process a homeowner can follow before calling anyone: the layout shapes, the work zones, where the grill belongs relative to wind and seating, how much counter is actually enough, and the two Rhode Island specifics, winter cover and drain down, that belong in the plan from day one rather than as October surprises.
Good outdoor design is mostly honest measurement. How you cook, how many people gather, where the sun and wind actually are at 6 in the evening in July, and how far the kitchen door is from the grill. Answer those on your own yard and the layout nearly draws itself.
Call (401) 357-0136Get a straight answer and a written quote
The Three Layout Shapes
Straight run
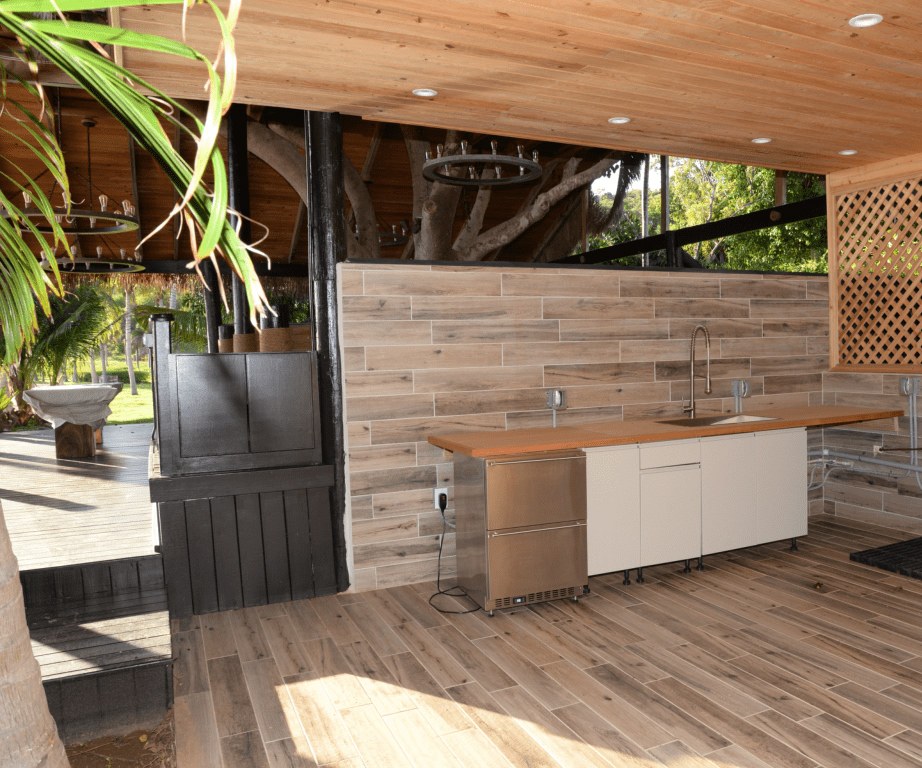
Everything on one line against a wall, fence, or patio edge. The straight run is the small yard and starter layout: grill in the middle, counter on both sides, fridge or storage at one end. It is the cheapest shape per foot of counter, the easiest to build and to phase, and the shape most Pawtucket and older Providence lots should start from. Its limit is traffic: the cook and the guests share one corridor.
L shape
Two runs meeting at a corner, which separates jobs naturally: grill and cooking on one leg, sink, fridge, and seating on the other. The L is the most common full kitchen shape in the metro because it fits suburban patio corners, gives the cook a work triangle, and puts seating on the short leg facing the yard. Most Cranston and East Providence full kitchens land here.
U shape
Three runs enclosing the cook, with seating usually on the outside of one leg. The U holds the most counter and the most appliances, suits dedicated cooking households, and needs the most room: an enclosed U that is too small feels like a cockpit, not a kitchen. Plan a U only when the patio honestly fits it, with the seating and traffic kept outside the work zone.
Work Zones: Hot, Wet, Cold, and Counter
Professional kitchens zone by task, and outdoor kitchens borrow the idea at backyard scale. The hot zone is the grill and burners. The wet zone is the sink. The cold zone is the fridge. The fourth zone, the one amateurs forget, is plain counter: landing space beside the grill for raw and cooked platters, kept separate in practice even when it is one run of stone. A workable rule: at least 18 to 24 inches of counter on each side of the grill, a sink within a few steps rather than across the patio, and the fridge at the edge of the work zone so guests grabbing drinks do not cross the cook's path to the grill.
Storage is the silent zone. Drawers and cabinets for tools, a trash pull out near the prep area, and a place for the cover and cleaning supplies. Every item without a home ends up on the counter, and counters covered in gear stop being counters. Walk your indoor kitchen habits outside: whatever you reach for twice in a cookout gets storage within arm's length of where you stand.
Grill Placement: Wind, Smoke, and the House Door
Three placement rules do most of the work. First, smoke: the grill should sit so the prevailing evening breeze carries smoke away from seating and away from open house windows, which in much of the metro means respecting the westerly flow and checking your own yard at dinner hour before the design is fixed. Second, distance: a few steps from the kitchen door beats a trek across the lawn, because every forgotten item is a trip, and a grill too far from the house gets used less, season after season. Third, the cook's view: face the grill toward the yard and the people, not into a fence corner. Cooking outdoors is social or it is just hot.
Heat clearances and overhangs get their say too, following the grill maker's requirements, detailed on the grill island page. A grill under a low overhang or tight to siding is a design error no appliance choice can fix.
Lighting and Power, Planned Not Added
Outdoor kitchens live at dusk, so lighting is a design layer, not an accessory: task light over the grill and prep counter that does not blind the cook, low ambient light at seating, and path light from the house door. All of it runs on the electrical plan, with GFCI protection, switches placed where wet hands make sense, and outlets enough for a blender, a speaker, and the rotisserie motor without a cord across the walkway. Retrofitting light into a finished island means surface conduit and regret. The fixtures can be phase two. The wiring belongs to phase one.
Design for Winter From Day One
Two winter systems belong in the first sketch. The cover: a full island cover needs clearance to fit and a place to live in summer, and the counter layout should leave its edges accessible rather than trapping it behind a raised bar. The drain down: sink and fridge water lines need shut off valves inside the house and low points that drain, placed during the plumbing run, with the route walkable in November. The materials guide covers the winterizing routine. Design cannot add these later at any sane price, which is exactly why they are on this page.
Request an Outdoor Kitchen Quote
Common Questions
What is the best layout for a small backyard?
A straight run against the patio edge or fence, with the grill centered and counter on both sides, fridge or storage at one end. It gives a real kitchen in as little as 8 to 10 feet of run and a 10 by 12 foot zone. Resist squeezing an L into a small yard: a comfortable straight run cooks better than a cramped corner. The grill island page covers the starter sizes in detail.
How much counter space does an outdoor kitchen need?
Plan 18 to 24 inches of clear counter on each side of the grill as the working minimum, one side for raw food going on, one for cooked food coming off, plus prep space near the sink and a landing spot by any pizza oven or side burner. Long counters shared by seating shrink fast, which is why seating overhang and working counter are planned as separate areas in the design.
Where should the grill sit in the layout?
Where the evening breeze carries smoke away from seating and open windows, a few steps from the kitchen door, with the cook facing the yard and guests. Keep the manufacturer's heat clearances from siding, fences, and overhangs. Check your yard's wind at dinner time before fixing the design: the prevailing pattern, not the noon pattern, is the one your summer evenings will live with.
What should I plan for storage?
Drawers and cabinets for grilling tools and fuel accessories, a trash pull out near the prep area, and a home for the cover and cleaning supplies. The planning rule is reach: anything you grab twice in a cookout belongs within arm's length of where you stand. Storage is the zone most often undersized in first designs and the hardest to add later, so size it generously in the sketch.
How do I plan lighting for cooking after dark?
In layers: task lighting over the grill and counters that lights the food without blinding the cook, ambient light at seating, and path lighting from the house door. Put fixtures on the electrical plan from the start, with GFCI protection and switches reachable with wet hands. Fixtures can be installed in a later phase, but the wiring belongs in the island build, not surface mounted afterward.
What mistakes make an outdoor kitchen hard to use?
The recurring ones: no landing counter beside the grill, seating overhang too shallow for knees, the fridge placed across the traffic path, a grill that smokes out the seating in the usual wind, storage forgotten until every surface is covered in gear, and water lines with no drain down plan. Every one is a drawing stage mistake, which is the good news: they are all free to fix on paper.
Bring a Sketch, Leave With a Plan
One call walks your yard's layout, wind, and zones, and turns them into a design that can be priced.